
Creating a Table of Contents for Your Hostinger Website: A Step-by-Step Guide
Learn how to create a clickable table of contents on your Hostinger website. This step-by-step guide makes navigation easier and helps improve your blog’s SEO.
Mike Carter
4/19/20253 min read
Struggling to make your long blog posts easier to navigate on Hostinger Website Builder? A table of contents not only improves the reader experience but can also boost your SEO by making your content more structured. In this step-by-step guide, we’ll walk you through how to create an interactive table of contents using Hostinger’s section-based layout—perfect for beginners who want a clean and clickable blog setup.
1. Navigate to your Hostinger website builder.
2. Create a blog where you want the table of contents (the sample I created via AI blog builder is "How to Create a Table of Contents"). Then, I transferred the data to Google Docs. Note that it will make the steps easier if your article text is not on your current website builder. You will see why later.
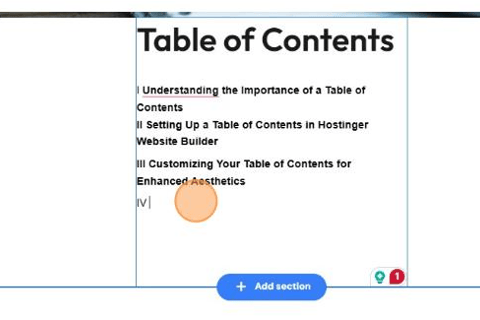
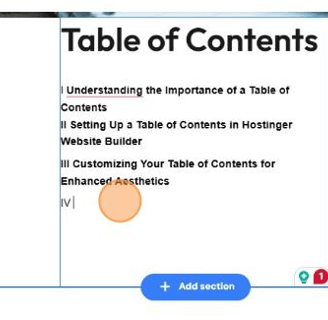
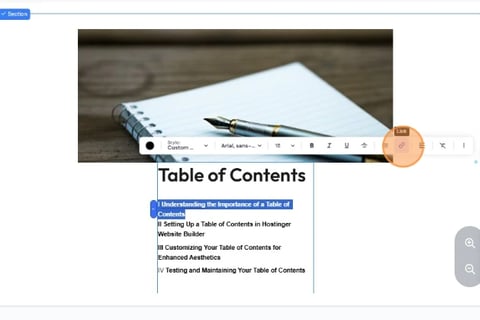
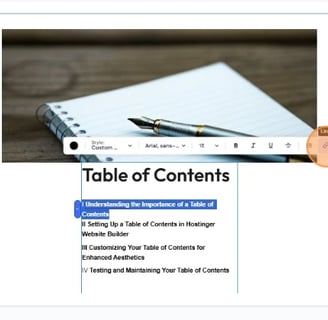
3. Add a Text Element, then enter your Table of Contents details
4. Click on Add Section
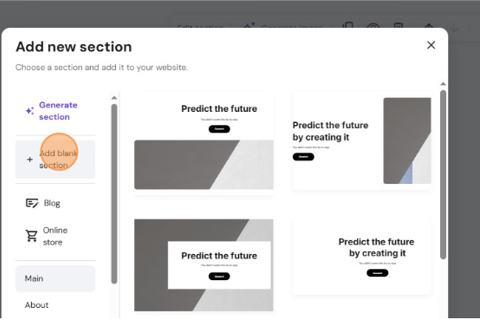
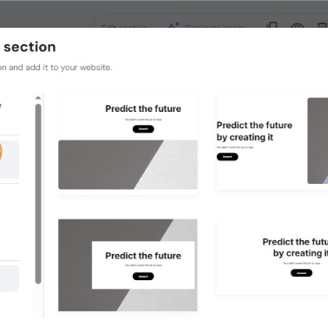
5. Select Blank Section
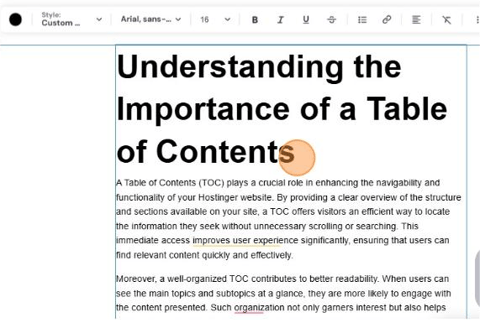
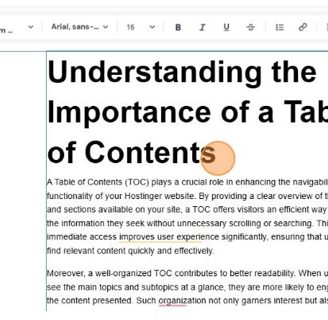
6. Add Text Element, then enter your first heading and its details
7. Copy your 1st heading mine was "Understanding the Importance of a Table of Contents"
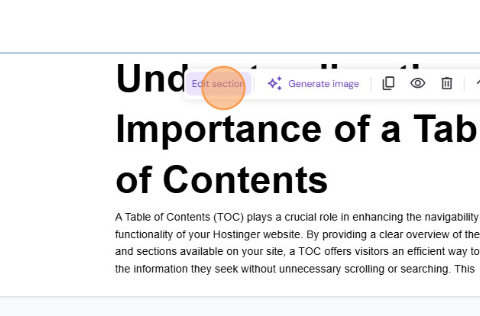
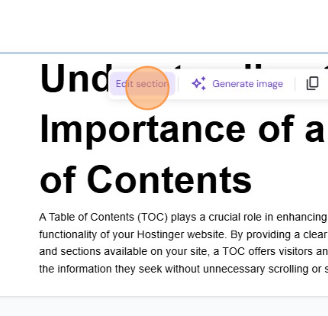
8. Click the word "Section"
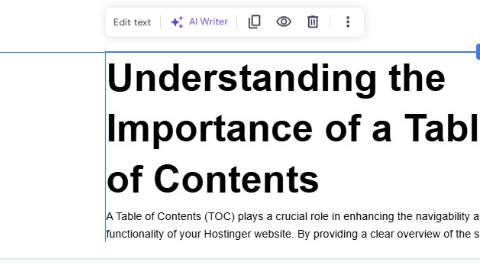
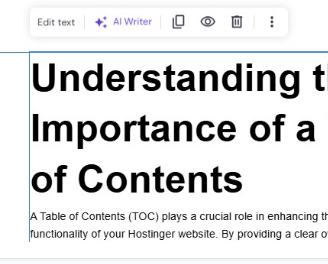
9. Click the word "Edit Section"
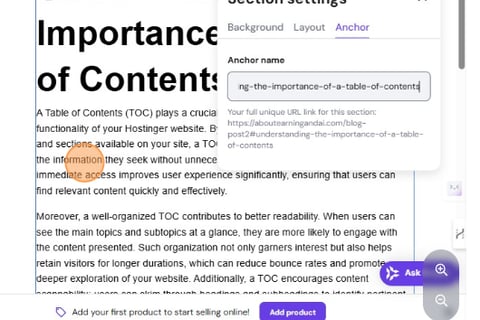
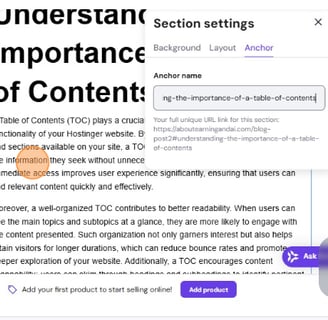
10. On the settings select Anchor, then paste your 1st heading in Anchor name
11. Next step is to add another section for your 2nd heading.
12. Enter the details for your second heading into the Text Element.
13. Edit the Section settings again and paste your 2nd heading to the anchor name.
14. Repeat the process until all the headings are anchored in different sections.
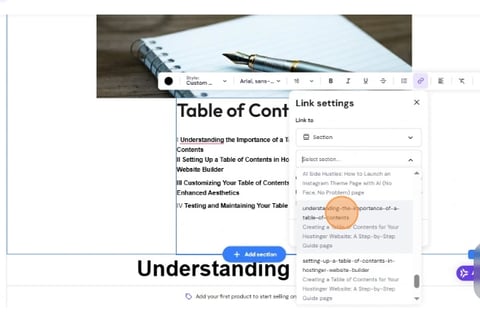
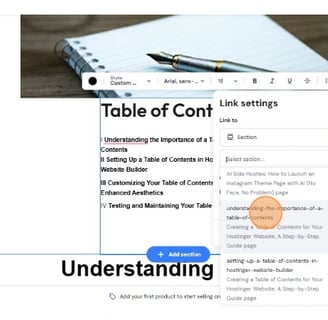
15 Select you first heading under the Cable of Contents and click on the link button.
16. Click on the drop-down option.
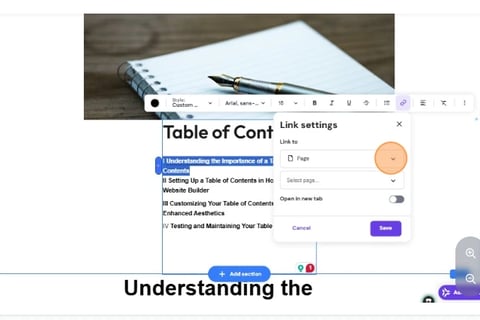
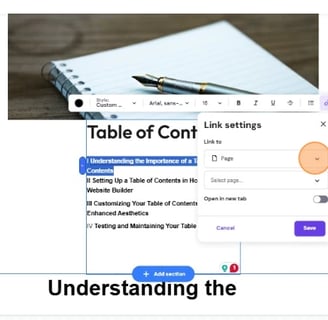
17. Then on the next drop down, select the 1st heading on the list. Then save.
18. Do the same thing to all other headings under your Table of Contents
19. Then you're done! Save, publish, and access your article to test the link.
I hope this helps. If you want more like this, join our communities by clicking the links below.